
Make a headline drift in, lift a card off the page or fly a camera across a poster, without a keyframe animation package. This page covers posing a box at one moment, lifting it off the page and shooting the result with a camera. For cutting clips in time, see The sequence editor.
Everything here runs on your device. Nothing plays on its own: the preview moves when you press play or drag the playhead.
- Select a box on Design's canvas.
- Open the timeline, park the playhead at 0 s and choose +Keyframe under More tools, or press
Shift+K. - Move the playhead to 2 s.
- Drag the box to its new place and press +Keyframe again. Press play: the box moves between the two poses.
A keyframe is a pose at a moment
A keyframe records a box's position, its size, how see-through and how blurred it is, and how far it lifts off the page, all at one instant. Two keyframes make a move, and Lolly fills in everything between them.
+Keyframe has two homes and one behaviour:
- +Keyframe in the timeline's More tools menu, under Edit clips;
- the diamond on the selected object's bar on the canvas, beside Duplicate and Delete.
Shift+K does the same from the keyboard while the timeline has focus (a bare K on the canvas turns Scale mode on or off). Whichever you use, the pose is written at the playhead for everything keyframable in the selection in one commit, so one undo takes it all back, even across a multi-selection.
If the thing you selected has no timing yet, that same press adds it to the timeline and writes its first keyframe together. One press, one undo step.
Each keyframe appears as a diamond on the clip's bar. Alt + ← and Alt + → step the playhead from one diamond to the next.
Nothing else creates a keyframe. Dragging a box, typing in a field or scrubbing the playhead never quietly adds one, so nobody keyframes by accident.
A box that has never been animated shows one control instead: Animate, in its Keyframes group. Press it and a rest pose is written at the start of the clip, with everything exactly where it already was. From then on the box has a track, and the rest of this page applies to it.
The playhead is the arm
There is no record button and no stopwatch. The playhead's position decides what an edit writes.
- Parked on a diamond, the canvas and the pose fields edit that keyframe. Drag the box, rotate it, resize it or type a number, and only that pose changes. A box resized on a diamond tweens its size between keyframes, and text inside it reflows as it goes.
- Parked off every diamond, the same edits change the box itself, which moves the whole animation with it. This is how you reposition a finished move without re-keying it.
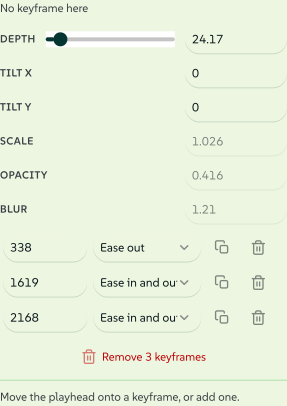
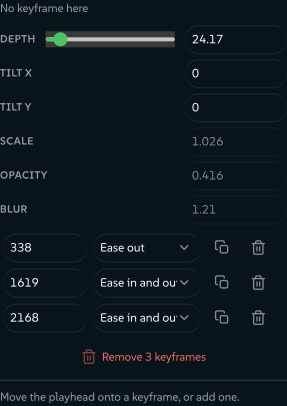
The Keyframes group says which one you are in: its first line reads No keyframe here off a diamond and Keyframe @ 0:01.8 on one. Off a diamond the pose fields show the values the box is passing through at that instant, and all but Depth, Tilt X and Tilt Y are inactive, because there is no keyframe to write to.
Scrubbing latches onto diamonds: drag the playhead near one and it snaps to it, so "edit the pose I can see" is the easy thing to do. Hold Alt to park between them.
Closing the timeline turns all of this off. The playhead is the arm, so the arm has to be visible.
The Keyframes popup
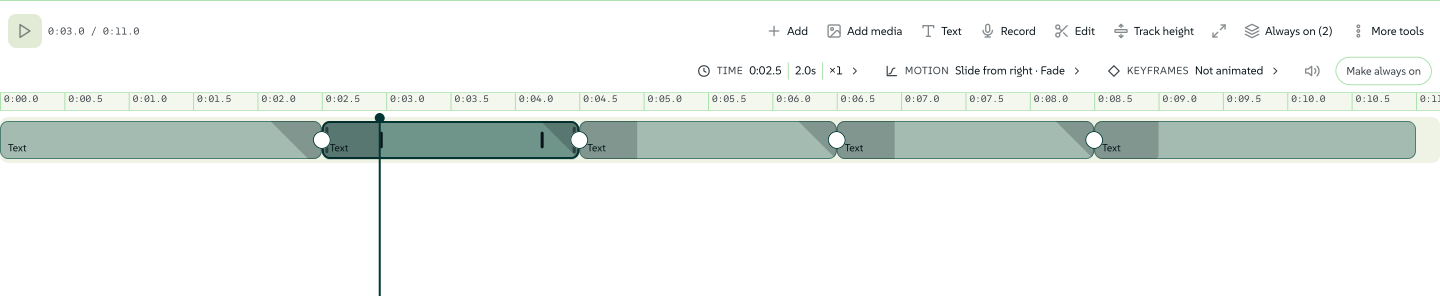
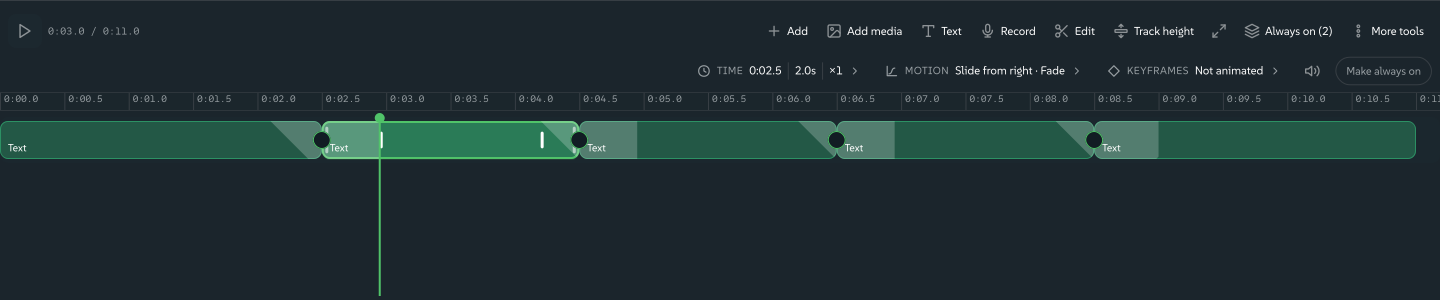
The clip inspector is a row of grouped segments: Time, Motion (Fades on a sound clip), Keyframes, a speaker toggle for mute and the timed or always-on switch. Each segment shows one glance-value summary; press it and its controls open as a panel above the transport, wide enough to read.
The Keyframes panel holds everything one track can be edited with:
- the latch line, saying which keyframe you are on;
- the pose fields: Depth, Tilt X, Tilt Y, Scale, Opacity and Blur (position, rotation and size are set on the canvas instead);
- one row per keyframe: its time in milliseconds, its curve, Duplicate and Delete;
- Remove N keyframes, which is how you un-animate a box: the track is the animation;
- the curve editor, docked at the bottom of the same panel.
Curves are the shipped set: Linear, Ease out, Ease in, Ease in and out, Overshoot, Anticipate, Smooth, Snappy and Hold, which keeps a value until the next keyframe. Drag a handle on the docked plot and the row switches to Custom with the curve you drew, so the presets are a way to learn the shape rather than a limit. A curve shapes movement; a fade always ramps evenly, whichever curve the keyframe carries.
Clicking a diamond selects it and opens this panel on that keyframe in one gesture. Dragging one moves it in time, and Alt-dragging leaves the original in place and drops a copy where you let go. Right-clicking one offers Keyframe curve, Duplicate keyframe and Delete keyframe without opening anything.
The keyframe rows are the keyboard and screen-reader route to the diamonds. Everything a diamond can do by pointer is a labelled button in that list.
 signed by Lollyvector SVG44 paths~4.0k nodes64 groups3 images64 KBتحقق بنفسكاحصل على الملف الموقَّع
 signed by Lollyvector SVG44 paths~3.8k nodes64 groups3 images58 KBتحقق بنفسكاحصل على الملف الموقَّع


Depth lifts a box off the page
Depth is the first pose field, and with Tilt X and Tilt Y it stays live even when you are parked between keyframes. It says how far the box stands above the surface: 0 is flat on the page, the slider scrubs the useful band of 0 to 300 and the number beside it takes anything from -300 (sunken) to 900.
- Off a diamond, Depth writes the box's own depth, so the box is simply lifted for as long as it runs.
- On a diamond, Depth poses that keyframe, so a box can rise and settle again.
Depth on its own changes how the camera sees the box: lifted layers move further and faster than the page behind them. To make the lift readable when nothing is moving, give the box a shadow that follows its depth. The object bar's More panel has a Shadow section whose Apply to row offers Depth beside Box, Text and Content; it derives a soft shadow from the box's own height above the page, so the higher the box, the further it casts.
The first time you move Depth, a Camera appears in the Always on strip. Depth already works without it; the camera box is what makes the shot itself editable.
Tilt a box
A box can hold a perspective pose of its own: pitch and yaw, up to 75 degrees each way, with the vanishing point at the box's centre. The object bar's More panel has a Perspective tilt section with the two sliders. The Keyframes popup carries the same pair as pose fields, so a tilt can be keyframed like depth; the keyed value replaces the set one for its segment.
A tilted box renders with real perspective on the canvas, in a still and in every frame of video, with two costs. The vector formats cannot describe a tilted plane, so an SVG or PDF export embeds that box as an image and tells you. A video export of a tilted scene runs on the slower capture path, which is why Choreograph's Tumble option is off by default.
The camera
Select the Camera chip and the inspector swaps its Time and Motion groups for a Camera group.
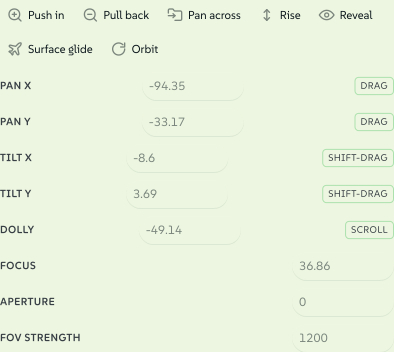
Seven moves write a complete track in one press, each one an ordinary set of keyframes you can then edit or delete:
| Move | What it does |
|---|---|
| Push in | Travels toward the artwork and stops. |
| Pull back | Starts close and settles at the resting frame. |
| Pan across | Slides sideways, so lifted layers part at different speeds. |
| Rise | Climbs over the composition, easing a little closer as it goes. |
| Reveal | Starts close and soft, then settles sharp at the resting frame. The depth-of-field demo. |
| Surface glide | Pitches down over the artwork with the focus on the lifted layers, drifts across, then settles square. |
| Orbit | Swings round the artwork and settles square. |
 signed by Lollyvector SVG50 paths~3.6k nodes62 groups50 KBتحقق بنفسكاحصل على الملف الموقَّع
 signed by Lollyvector SVG50 paths~3.6k nodes62 groups50 KBتحقق بنفسكاحصل على الملف الموقَّع


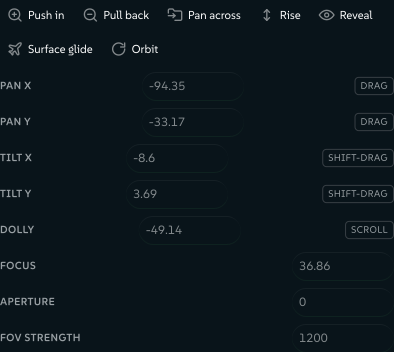
Under the moves are the camera's own channels, each with the gesture that drives it: Pan X and Pan Y, Tilt X and Tilt Y, Dolly, Focus, Aperture and FOV strength. With the camera selected and the playhead inside its window, dragging empty canvas pans the shot, Shift-dragging tilts it and a plain scroll dollies it. Cmd/Ctrl-scroll still zooms your view, and Space-drag still pans your view: moving the shot and moving your own window onto it stay separate gestures. Clicking any box hands both back.
- A camera holding a single pose is the scene default. Pan it, dolly it or change its focus and the whole shot changes, with no keyframes involved.
- Cuts come from a second camera. Park the playhead where you want the cut, open the timeline's Add menu, choose Add to the timeline, then Scene camera, and click the canvas to drop it (the same two steps every kind added from the timeline takes). It arrives as a clip starting at that instant, and from there the shot looks through the new camera.
Focus is a distance and Aperture is how shallow the focus is; at 0 everything is sharp, and raising it softens whatever sits away from the focus distance. FOV strength changes the perspective, not the magnification; a dolly (the camera's own Depth) makes things bigger.
Lift layers: one SVG into a stack
A flat SVG is one picture. Lift layers turns it into a stack of boxes, one per layer of the drawing, so each layer can carry its own depth, keyframes and blur.
Right-click a box holding an SVG and choose Lift layers (it is also in the More panel on the object bar). The dialog reads the artwork and reports what it found, such as 6 layers found, with the number of shapes in each. Press Lift layers to accept, and the box is replaced by that many boxes, in the same place, sharing a group, with their depth staggered and the Depth shadow already set. It is one commit, so one undo puts the original picture back.
Read the list before you accept. On a screenshot exported from a Lolly canvas the layers are the objects the editor knows about. On anything else, such as a page you captured or a drawing from another app, the split is read from the artwork's own groups and geometry. Artwork that is genuinely one layer says so and offers nothing to do.
Choreograph: one click, a whole motion arc
A lifted stack, a grouped selection or a grid of swatches is a set of boxes that want to move together. Choreograph writes that motion for you: every box gets its own keyframes, staggered a little after the box before it, and the camera gets a move of its own, all in one commit. What you get is ordinary keyframes, so you can retime, split or delete any of them, and one undo takes the whole arc back.
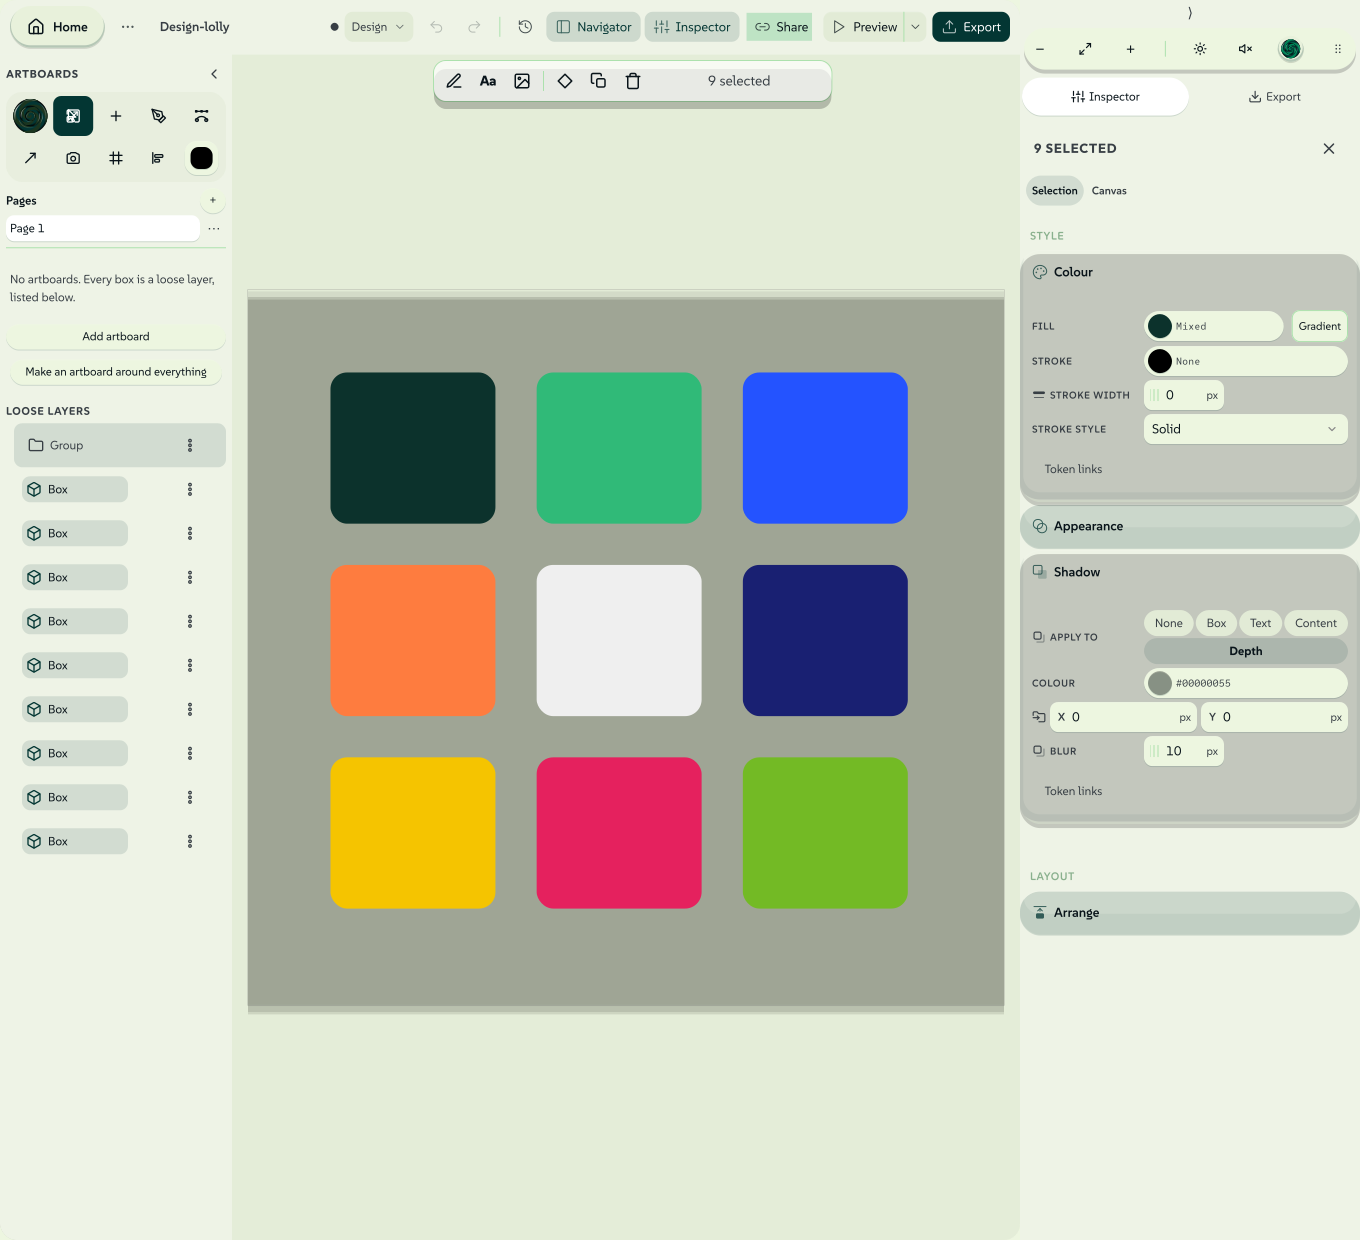 signed by Lollyvector SVG303 paths~12k nodes391 groups2 images272 KBتحقق بنفسكاحصل على الملف الموقَّع
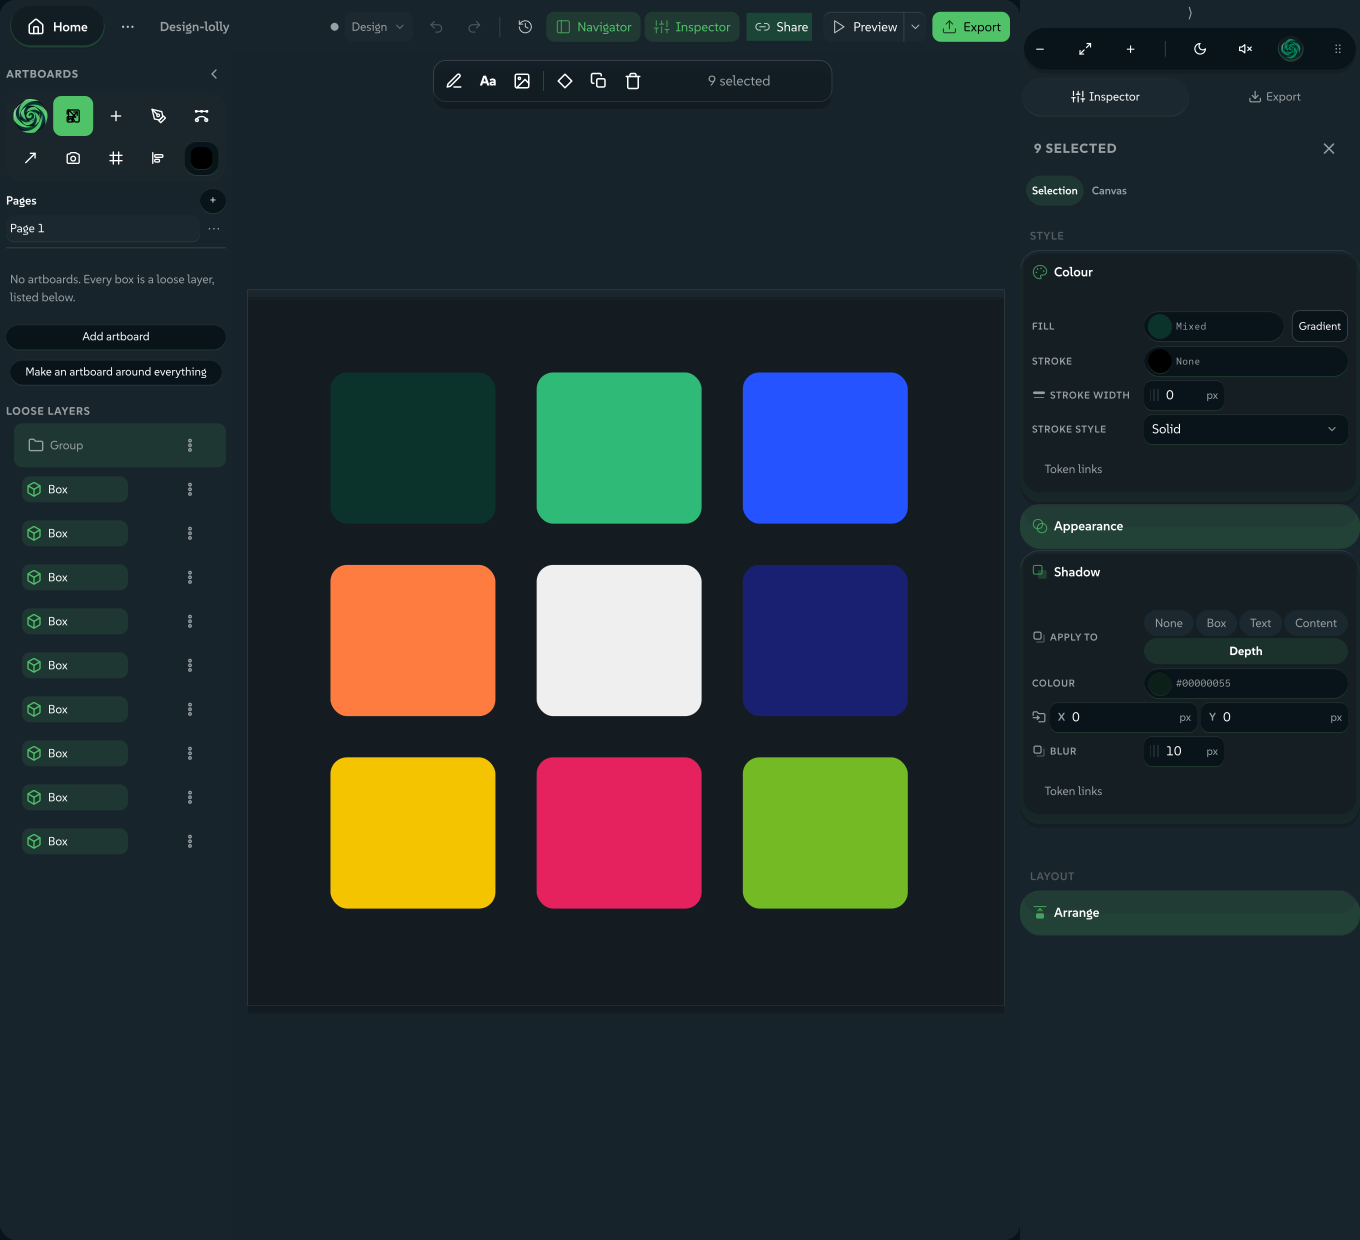 signed by Lollyvector SVG296 paths~12k nodes391 groups2 images272 KBتحقق بنفسكاحصل على الملف الموقَّع


Select two or more boxes, right-click and choose Choreograph… (it is also in the More panel). Pick a showcase:
| Showcase | The arc |
|---|---|
| Buildup | Assembles from nothing: each box fades in from a little way out and settles into place, in reading order. |
| Deconstruct | The reverse: everything rests, then flies apart, and stays apart. |
| The Loop | Assembles, holds, flies apart. It ends exactly where it began, so an exported GIF or APNG cycles without a jump. |
| Hero arc | Explodes outward while the camera flies through the stack at an angle, then everything comes home. |
| Trench run | A small lift, with the camera inside the stack drifting along it so the layers stream past above and below. |
| Map-scan | The boxes hardly rise; the camera starts far back, glides in at an angle, then pans across the page in a few thrown-map moves before settling. |
Five Launch recipes follow the showcases. They move the selected members of a group together, and each has an Apply button that writes the recipe in one press, without a camera move:
| Launch recipe | The arc |
|---|---|
| Editorial reveal | Lift, settle and leave room to read. |
| Type snap | Anticipate, snap, settle. |
| Feature cascade | Deals the layers in a measured sequence. |
| Assemble loop | Arrive, hold, unwind, repeat. |
| Soft drift loop | Keeps the layout readable while gently moving, with the artwork visible throughout. |
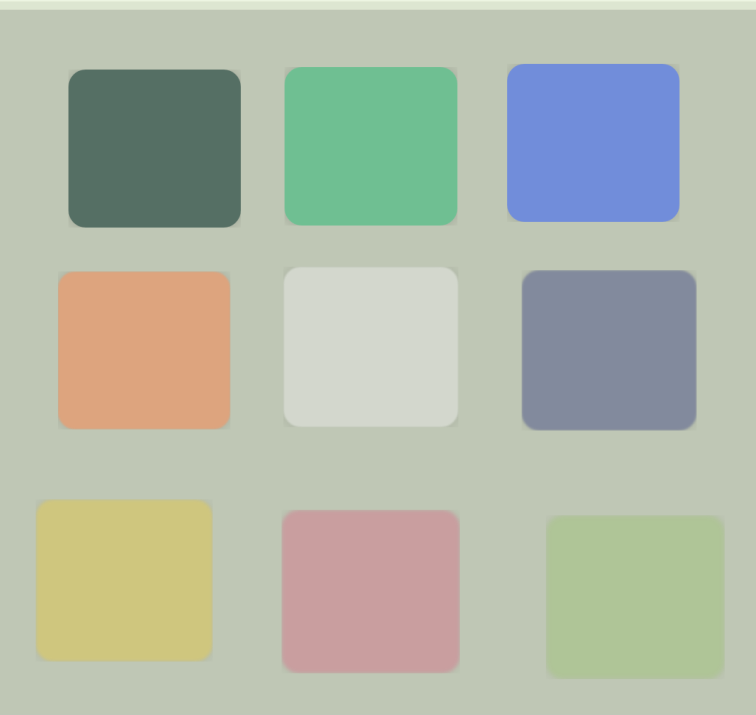 signed by Lollyvector SVG3 paths29 nodes22 groups9 images65 KBتحقق بنفسكاحصل على الملف الموقَّع
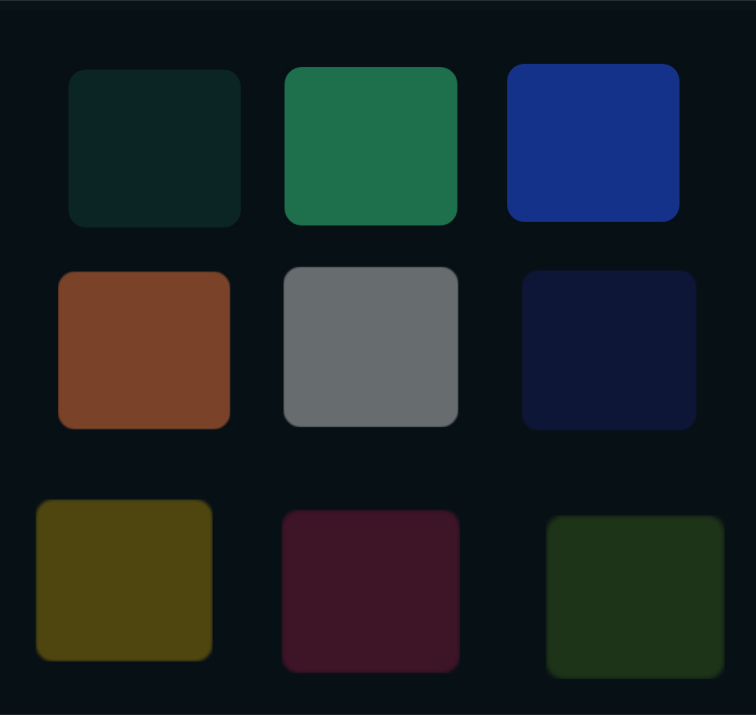 signed by Lollyvector SVG3 paths29 nodes22 groups9 images65 KBتحقق بنفسكاحصل على الملف الموقَّع


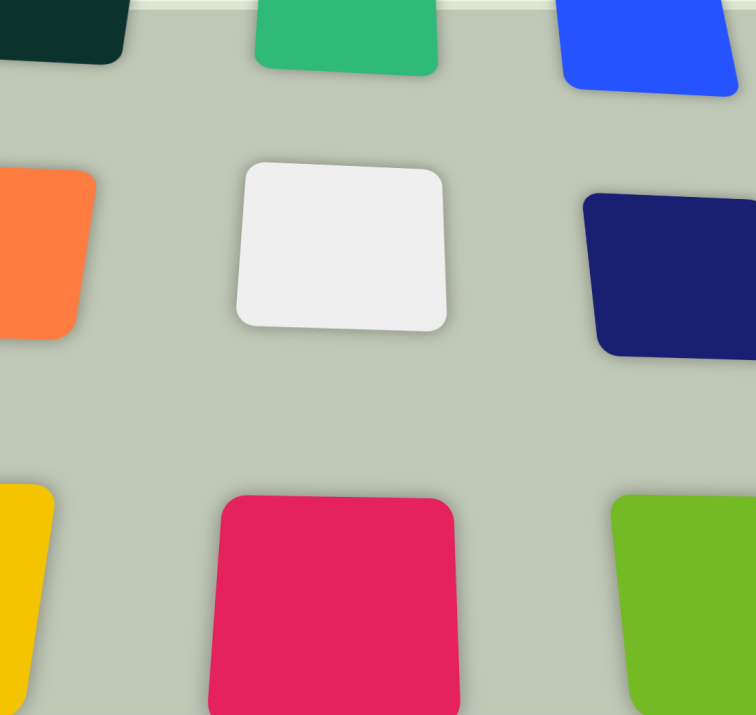 signed by Lollyvector SVG3 paths29 nodes14 groups10 images344 KBتحقق بنفسكاحصل على الملف الموقَّع
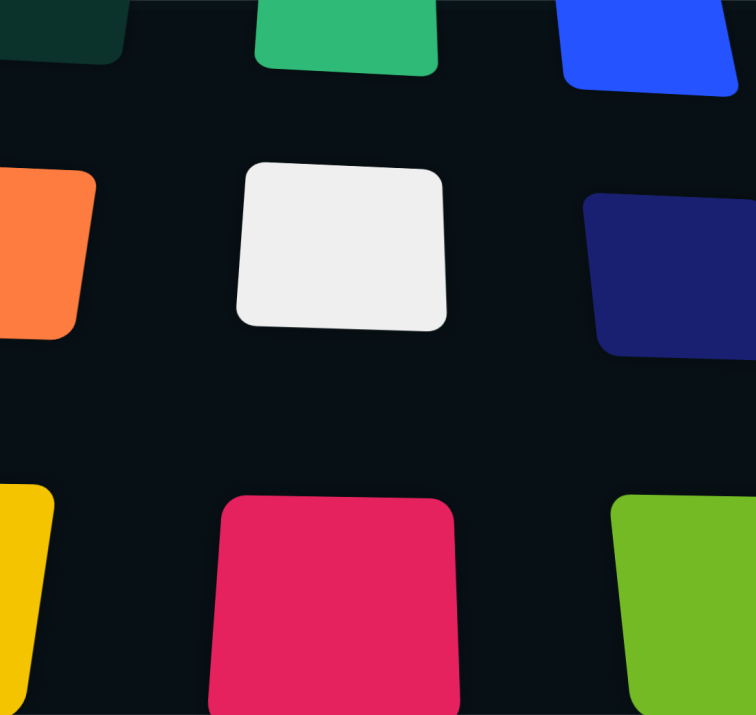 signed by Lollyvector SVG3 paths29 nodes14 groups10 images344 KBتحقق بنفسكاحصل على الملف الموقَّع


Below the recipes: Length in seconds (each showcase has its own, and follows the one you pick until you type a length), Stagger in milliseconds between one box and the next, Order (First to last, Last to first, From the centre, By depth or Random), Camera move and Float, a breath of scale as each box settles, so a grid never ticks like a metronome. Float and Tumble switch off for a Launch recipe. Preview motion plays the arc inside the dialog, with a slider to scrub through, and leaves your document unchanged until you choose Choreograph.
Two rules the generated moves keep. Every showcase except Deconstruct ends at rest: each box back at its own depth, the camera home. And a showcase over boxes that already have a timeline runs on that timeline: it starts where the earliest of them starts, and a box that enters late joins the move at the pose it has reached rather than replaying the opening.
Boxes with no timeline yet are given one: each becomes a clip from the start of the sequence for the arc's length, so the motion plays and exports.
Choreograph works on imported layers as well as native ones. Selected members of a group share their movement and timing, so a card's lettering stays with its surface; select the whole group when every member should move. The recipes leave each layer's text, colours, typography, resting position and opacity as they were. Choreograph works on one editable board, so import the page you want onto Replace the board, or use timed scenes to play whole pages in sequence. Select every loop layer for a complete export. IDML and Premiere XML exports do not carry these generated animations.
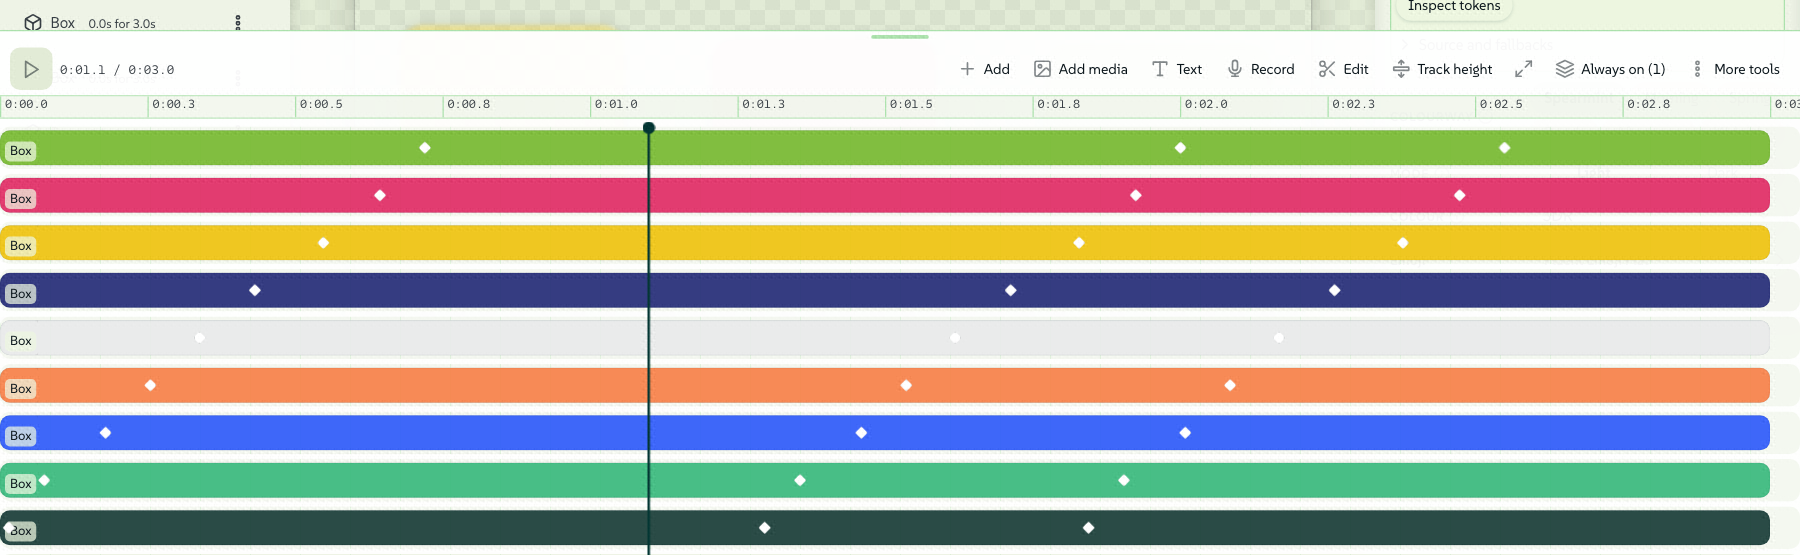 signed by LollyPNGpixels, not shapes170 KBتحقق بنفسكاحصل على الملف الموقَّع
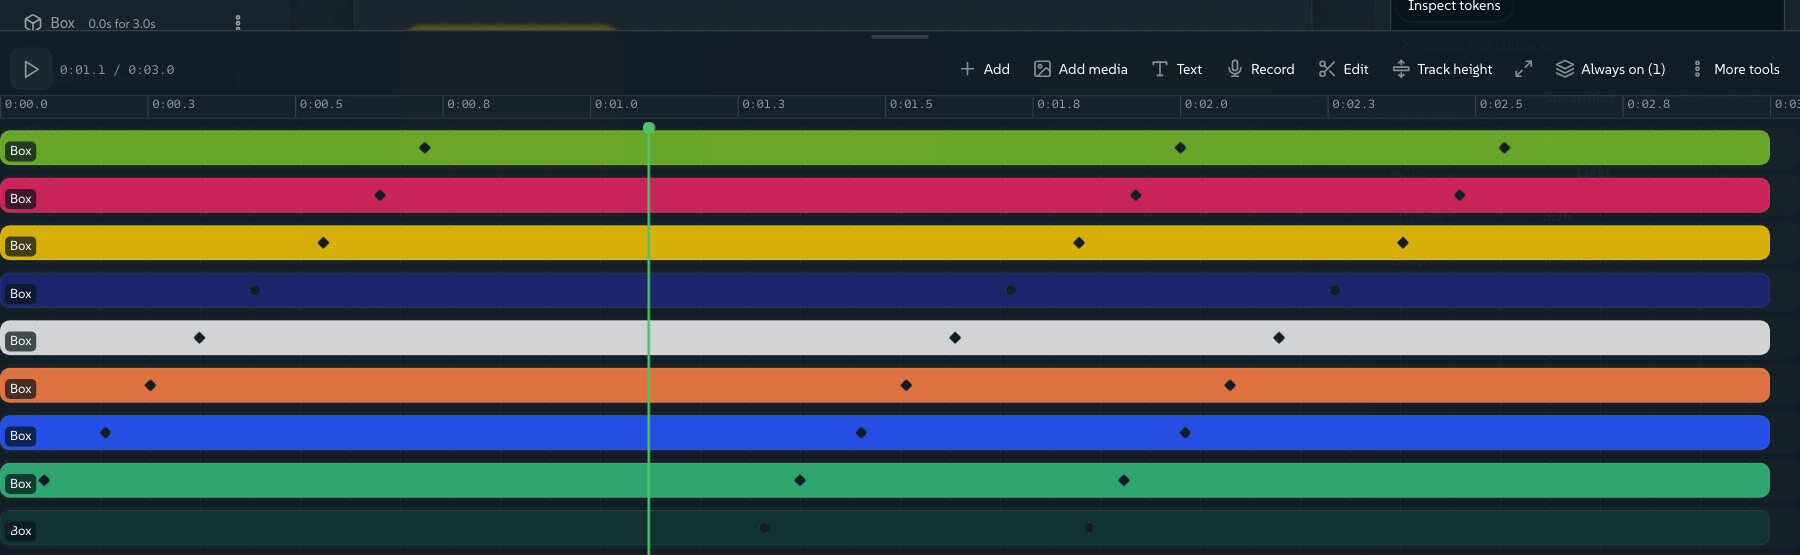 signed by LollyPNGpixels, not shapes158 KBتحقق بنفسكاحصل على الملف الموقَّع


Text that arrives in pieces
A text box can enter and leave as a whole, or a piece at a time. In the timeline's Motion group, Text chooses the tier (Whole text, Letter, Word or Line), and every piece then plays the box's own Enter and Exit with its curve. Offset starts by is the gap between one piece starting and the next, in milliseconds, so a heading can drop in letter by letter or a list can fade in line by line. Text order decides who goes first: First to last, Last to first, From the centre or Random.
 signed by Lollyvector SVG82 paths~6.6k nodes168 groups91 KBتحقق بنفسكاحصل على الملف الموقَّع
 signed by Lollyvector SVG82 paths~6.6k nodes168 groups91 KBتحقق بنفسكاحصل على الملف الموقَّع


Pieces are shaped glyphs, not a span per character, so a letter that kerns into its neighbour keeps that kerning while it moves, and the exported video, the animated image formats and the PowerPoint deck all play the same split. In PowerPoint the split becomes native per-letter, per-word or per-paragraph animation, so a deck stays editable in PowerPoint and still moves.
While on screen
Between its entrance and its exit a box usually sits still. While on screen gives it something to do in the meantime: Pulse, Bob, Sway or Flicker, at a Hold speed in cycles per second. It is the same feature whether the box is a heading or a call-to-action sticker, and it plays in every motion export except dotLottie.
Start from a motion starter
Design's template picker has a Motion collection of finished loops to adapt: Editorial loop (readable type and a geometric mark with gentle movement), Feature cards (three grouped cards assemble, hold and return) and Photo title (a graded Darkroom image beside editable type). Each is a 6 second loop with 4 and 8 second variants. Replace the artwork, or the photo with your own upload or an edited Darkroom share link, and keep the timing.
Exporting a move
The preview and the file are the same arithmetic, so what you see is what you get.
- Video: MP4 or WebM, rendered frame by frame at exact times rather than recorded off the screen. See Export a file.
- Animated images: GIF, APNG and animated WebP come from the same frame-by-frame render.
- dotLottie keeps position, scale, rotation and opacity keys on shapes, paths and still images. It refuses depth, tilt, blur, a camera, text and Motion entrances, exits and While on screen, and says which layer; export video for those. See Lottie animations.
- A still is the frame at the playhead. Park the playhead where the shot looks best and export.
- A contact sheet comes from the Frames field beside the output size: raise it and you get that many stills sampled across the sequence; see stills from a timed composition.
- SVG stays vector. A posed frame exports as real transforms with real blur and shadow filters, not a picture of a moment.
- PDF is partly vector. Box and text shadows stay vector; the Depth shadow and the content shadow follow the shape of the artwork itself, so a box using either exports as an image embedded in the PDF, as does a blurred one.
A keyframe track is an ordinary part of the design, so it travels in the link: share the URL and the recipient opens the same move. A long one packs itself into the short form (see URL Mode).