
This guide covers the optional organisation service. Configuration, console and API paths refer to your Lolly Work instance. The packaged console keeps its release-matched copy of this guide.
This guide takes you from a source checkout to a Lolly Work instance running on one server, with real sign-in, a database and secrets that survive a restart.
Three other paths have their own pages. Install on Kubernetes covers Helm, K3s, RKE2 and Rancher. The Lolly appliance, a preview disk image, boots into Lolly Work on K3s. The ready-made package is a finished Compose directory with HTTPS and password sign-in. Not sure which fits? Run Lolly Work has a one-question chooser.
What you'll do, in four steps:
- Try the demo The local demo, in memory, on your own computer.
- Make it real Sections 2 to 4: your configuration, PostgreSQL and secrets.
- Run it on a server One of Compose, systemd or YunoHost, in sections 5 to 7.
- Then connect The
lwcommand line and your first asset source.
Commands with registry, hostname or file placeholders need your own values before you run them.
Before you start
Which tools you need depends on the path you pick:
| Path | Needs | Check it with |
|---|---|---|
| Sections 1, 2 and 6 (from source) | Node 24 or later, Git, curl | node --version |
| Section 3 and every shared install | PostgreSQL, run by you or brought by Compose or YunoHost | psql --version |
| Section 5 (Compose) | Docker with the Compose v2 plugin | docker compose version prints a version |
| Section 7 (YunoHost) | A YunoHost server; it supplies its own runtime | - |
Lolly Work's server runs its TypeScript directly on Node, with no build step. Only a source install needs Node on the host: the container image brings its own, and the YunoHost package installs it for you.
Without the Compose v2 plugin, docker compose up --build fails with unknown flag: --build.
Compose brings PostgreSQL 17. The optional SUSE profile pins Application Collection PostgreSQL 18.6, with its own qualification and recovery requirements. Production Kubernetes and systemd installs need a database you manage. The Helm evaluation and the local demo keep everything in memory and reset on restart.
Each system's setup is below. On Windows, run the shell commands on this page inside WSL 2.
Linux
For Ubuntu or Debian, install Git, curl and certificate roots with sudo apt-get update then sudo apt-get install git curl ca-certificates. For SLES or openSUSE, use sudo zypper install git curl ca-certificates.
Install Node 24 or later from your distribution if it has one, or follow Node's installation instructions for your system and architecture. Check node --version and npm --version before you continue: a distribution's unversioned nodejs package may be older than Lolly Work needs.
For containers, follow Docker Engine's platform guide and install the Compose v2 plugin. Skip host Node and pnpm unless you also run Lolly Work from source.
macOS
For a source install on Apple silicon or Intel, install Git and Node 24 with Homebrew:
brew install git node@24
export PATH="$(brew --prefix node@24)/bin:$PATH"
node --version
npm --version
Keep that PATH line in your shell profile for later sessions, then continue with section 1.
For Linux containers instead, install Docker Desktop for Mac, start it, check docker compose version and follow section 5. The Lolly macOS app is the app people use, not the Lolly Work server.
Windows
In an administrator PowerShell window, install WSL 2 by following Microsoft's WSL installation guide:
wsl --install -d UbuntuRestart if asked, open Ubuntu and create its Linux user. Keep your Lolly Work checkout under the Linux home directory, for example ~/lolly-work. Follow the Linux steps and section 1 inside Ubuntu. Do not paste Bash export, sudo or $(...) examples into PowerShell.
For Compose, install Docker Desktop for Windows, select Linux containers and turn on WSL integration for Ubuntu. Check docker compose version inside Ubuntu, then continue with section 5.
Docker Desktop is not the deployment path for Windows Server: use an existing Kubernetes platform or a Linux VM there. A native Windows service install has not been qualified for this release.
1. Try it on your computer
Use the published release tag, which keeps the server and the bundled engine matched. The release source ZIP works too: extract it and open its root folder before you run the package-manager commands.
git clone --branch v1.2.0 --depth 1 https://github.com/lolly-tools/lolly-work.git
cd lolly-work
# Install the pinned package manager once (or use Corepack).
npm install --global pnpm@11.26.0
pnpm install --frozen-lockfile
pnpm run demo            # http://localhost:8787   (PORT=8788 for another port)
pnpm run demo builds its own configuration (it ignores instance.json) and fills a whole governed deployment in memory: four sample people, tool overlays, an approval chain, projects, fourteen days of usage figures and sixty days of audit history behind the console charts. At startup it prints one passwordless sign-in link per person. Open a printed link:
- Admin console at
/admin: use the admin person's link. - This documentation at
/admin#/docs. - The Lolly web app at
/, only when a built copy is present (next step).
The web app, with its sign-in gate, locked tool inputs and locked profile, comes from the open-source Lolly repository, which Lolly Work never builds. To add it, clone Lolly beside Lolly Work once:
git clone https://github.com/lolly-tools/lolly.git ../lolly
cd ../lolly && pnpm install && pnpm run build:web && cd -   # needs Node >=22.18 or >=24
The public clone includes the community tools and the starter brand. Then run pnpm run demo again. It looks for $LOLLY_OSS_DIR, then ../lolly, and the start-up banner says which of three states it found: no web app, an out-of-date one or a current one. The console and server rendering work in all three.
For contributors changing dependencies
The root pnpm-workspace.yaml links the pinned bundled engine and SDK without changing their source. Use the pinned pnpm version and commit pnpm-lock.yaml after a dependency change; deployments install with --frozen-lockfile. The render worker has its own lockfile: install it with pnpm -C workers/render install. The hoisted module layout supports the server's deployment packager.
After a dependency change, run pnpm run update:npm-licenses and pnpm run sbom, then commit the licence metadata cache and SBOM. Tests and type checks are in the Lolly Work repository's contributing guide.
2. Your first real instance
This walk-through teaches the configuration that Kubernetes, Compose and systemd all read. A platform team can skip running it locally, but should prepare its production configuration the same way before installing on Kubernetes.
pnpm install                              # once per checkout, before anything runs
cp instance.example.json instance.json
npm start                                # http://localhost:8787
instance.example.json is a working gated instance: development sign-in on, the committed packs/demo catalog and in-memory storage.
Sign in
Open <http://localhost:8787/admin>. Development sign-in shows a single Lolly Work email box; you@example.com is only a placeholder. Type one of the two addresses that instance.example.json lists, then choose Continue:
| Address | Group | Can do |
|---|---|---|
owner@example.test | owner | everything, including instance.config and provider credentials |
dev@example.test | admin | everything except the owner-only actions below |
Any other address gets 403, because development sign-in admits only the people in dev.users. To use your own address, add it to that list. For scripts, you can mint a session cookie directly:
curl -si 'http://localhost:8787/api/auth/dev?email=owner@example.test' | grep -i set-cookieCheck that it works
Five checks, in order. Each one needs the one before it to pass.
- The server answers.
/healthzreturns your instance name and access mode. - Sign-in works. A development sign-in returns an
lw_sessioncookie. - The role is right.
/api/auth/sessionshows theownergroup and role. - The pack is mounted.
/api/v1/policy/toolslists the demo pack's three tools. - Rendering works. A QR code renders as SVG with status
200.
curl -s http://localhost:8787/healthz
# {"ok":true,"name":"...","accessMode":"gated"}        ← the name from instance.json

C=$(curl -si 'http://localhost:8787/api/auth/dev?email=owner@example.test' \
      | grep -i '^set-cookie: lw_session' | sed 's/^[Ss]et-[Cc]ookie: //' | cut -d';' -f1)

curl -s -H "Cookie: $C" http://localhost:8787/api/auth/session
# ..."groups":["owner"],"role":"owner"}}            ← identity and derived role

curl -s -H "Cookie: $C" http://localhost:8787/api/v1/policy/tools
# a tools array, including qr-code                    ← the pack is mounted

curl -s -o out.svg -w '%{http_code} %{content_type}\n' -H "Cookie: $C" \
  'http://localhost:8787/render/qr-code.svg?url=https://example.com'
# 200 image/svg+xml                                  ← rendering works
An empty tools array means instance.pack points at something that does not exist; the server warns about that at startup. A 501 HOOKED_TOOL_NEEDS_CHROMIUM on the render means render.allowHooksInFastPath is false; see section 4.
The first owner
Roles come from groups, through the defaults or an explicit idp.roleGroups mapping. A configured idp.bootstrapOwners email gains the owner group once the identity provider verifies it, and it still has to pass admission. Without an owner, nobody can reach three actions: instance.config, catalog.provider.credential and catalog.provider.publish. Those are exactly what connecting a real DAM needs.
| Situation | How the first owner appears |
|---|---|
| Local (section 2) | instance.example.json lists owner@example.test in group owner. Sign in as that person |
| Kubernetes evaluation | deploy/helm/values-eval.yaml lists owner@eval.example in group owner. The section 2 addresses get 403 there |
| Single sign-on | Create a group named exactly owner in your identity provider and add the person deploying. Make sure the group arrives in the claim named by idp.groupsClaim (default groups) |
| Named OIDC bootstrap | Set idp.bootstrapOwners to the intended verified email and include it in admission; use an explicit owner role-group mapping |
| Single sign-on where you cannot add that group | Any admin can create one: POST /api/v1/groups {"name":"owner"} then PUT /api/v1/users/<id>/local-groups {"groups":["owner"]}. Both need grant.edit, which admin holds, and both are audited |
| GitOps or air-gapped | A LW_SEED_CONFIG document is trusted, and may grant owner-only actions to a group before anyone signs in (section 8, governance) |
Role changes take effect on the next API request, not the next sign-in: authorisation reads the live user record, so the same cookie gains and loses powers at once.
The four settings that make it yours
| Set | To | Why |
|---|---|---|
instance.baseUrl | the URL this instance answers on | drives the OIDC redirect address and the Secure cookie flag; a wrong value breaks sign-in |
instance.pack | your design-system pack | the catalog, design tokens, console theme and tools all come from here |
instance.shellDir | a built shells/web/dist (from section 1) | serves the Lolly web app at / on the same address, so sign-in cookies work and the web app applies your policy |
idp.issuer and idp.clientId | your OIDC issuer | real single sign-on (identity) |
Under any access mode except open, the server refuses to start if shellDir points at a missing web app, or one too old to apply policy, rather than serving an ungoverned one. In evaluation, LW_ALLOW_STALE_SHELL=1 turns that into a loud warning; production validation still refuses. Every key is in configuration.
Before exposing the server
This is the one checklist every install on this page uses. Work through it before anyone else can reach the instance.
/api/auth/dev stays a live passwordless way in until you switch it off. The server warns at startup when a real issuer and development sign-in are both configured.
- Set
"dev": { "enabled": false }ininstance.json. - Set
instance.baseUrlto the real HTTPS address. - Set
"deployment": { "mode": "production", "application": "web" }, a durableDATABASE_URLand both stable signing secrets (section 4). Useapplication: "api"for an instance that serves only the console and API. - Behind a reverse proxy or ingress, set
rateLimit.trustedProxyHops: 1, or per-address rate limits only ever see the proxy. - Choose the database password. The Compose file falls back to the literal
lolly, so an instance that started without one still uses that password. SetPG_PASSWORDin.env(section 5).
Validate the selected pack and deployment
pnpm run inspect:pack /path/to/your-pack
LW_CONFIG=./instance.json pnpm run check:setup
The pack inspector uses Lolly Work's bundled engine and source resolver. It loads every advertised tool, checks required files and local catalog assets, and lists the formats the server can make apart from other declared formats. It also reports a catalog file claimed by two asset IDs, which a production server refuses at startup. It never runs hooks or fetches remote assets. An optional second argument selects a source ID. With LW_CONFIG set, the command also applies that deployment's worker and server-rendering requirements.
Lolly Work's engine-pin.json records the exact bundled engine and core source. Use the matching Lolly web release and tool pack. A configured worker, or a web app that applies policy, does not prove an exact client match: check the pack and a few representative renders before you accept the instance.
Production startup refuses missing durable storage, development sign-in and an invalid active pack. /readyz reports the actual store and drops readiness when its checks fail; /healthz only shows the process is alive. Owners can open Customer setup in the console, where not-tested marks integrations still to verify. Pack checks are cached for at most 60 seconds, so health probes do not run a full inspection each time.
3. Persistence
Without DATABASE_URL the in-memory store runs and everything resets on restart. That is right for evaluation and never for a real install.
On Linux, PostgreSQL runs as an operating-system user named postgres, the only database superuser. Homebrew on macOS creates no such user and makes your own account the superuser, so the same commands run with no sudo and no -u postgres.
SLES or openSUSE Leap:
sudo zypper install postgresql-server postgresql
sudo systemctl enable --now postgresql
sudo -u postgres createuser --pwprompt lolly
sudo -u postgres createdb --owner=lolly lolly_work
macOS (Homebrew): postgresql@17 is keg-only, so its commands are not on your PATH until you add them.
brew install postgresql@17
brew services start postgresql@17
export PATH="$(brew --prefix postgresql@17)/bin:$PATH"   # keg-only: createuser/createdb/psql live here
createuser --pwprompt lolly
createdb --owner=lolly lolly_work
Then, on either system, use the password you typed at the --pwprompt prompt:
export DATABASE_URL=postgres://lolly:<password>@localhost/lolly_work
psql "$DATABASE_URL" -c 'select 1'   # role, database and password all correct before you go on
pnpm run migrate:status               # lists pending migrations, exits 1 if any
pnpm run migrate # or just start the server: migrations apply at startupWith DATABASE_URL but no LW_SESSION_SECRET, data survives a restart and every session still ends. Set both secrets in section 4.
On Kubernetes, the chart's migration Job owns the schema instead; see operations.
4. Secrets
Secrets never live in the configuration file. Production needs two stable random signing secrets of at least 32 bytes. Set deployment.mode: "production" explicitly; an existing configuration using auto takes it from NODE_ENV. Evaluation allows a random key per process, so every restart signs everyone out and cancels every issued link.
export NODE_ENV=production
export LW_SESSION_SECRET=$(openssl rand -hex 32)   # session/guest/state tokens
export LW_LINK_SECRET=$(openssl rand -hex 32)      # share/embed/download link signatures
The rest are optional until you use the feature: LW_IDP_CLIENT_SECRET, LW_CREDENTIAL_SECRET, LW_METRICS_TOKEN, LW_RENDER_WORKER_SECRET, LW_C2PA_SIGNING_KEY and LW_BLOBS_S3_CREDENTIAL. See configuration.
Settle one more switch before you deploy: render.allowHooksInFastPath. The in-process renderer refuses to run a tool's hooks.js unless you allow it, and answers 501 HOOKED_TOOL_NEEDS_CHROMIUM instead. Every tool in packs/demo has hooks, so instance.example.json sets it true; this repository curates that pack end to end. When you point instance.pack at a pack you do not fully control, set it back to false and attach a Chromium render worker instead (deployment).
5. Container (Compose)
Three ways run Lolly Work on one Linux server:
| Ready-made package | Compose from source (this section) | Node and systemd (section 6) | |
|---|---|---|---|
| You get | Lolly Work, PostgreSQL, the matching web app, Caddy HTTPS and password sign-in | Lolly Work and PostgreSQL | Lolly Work on the host's Node |
| You add | Your domain and owner email | TLS, your domain, identity and the web app if you want one | PostgreSQL, TLS, identity and the web app if you want one |
| Configuration | Generated for you | The instance.json from section 2 | The instance.json from section 2 |
| Guide | Ready-made package | Below | Section 6 |
Compose from source needs no Node on the host and no system user. Start in the repository root, because the Compose stack mounts ../../instance.json from there:
cd <your checkout>                              # the REPO ROOT: the mount is ../../instance.json
test -f instance.json && echo "using the instance.json you authored in section 2" \
  || cp instance.example.json instance.json     # only if you skipped section 2
# Copying the example over your own file silently resets baseUrl, pack, idp.issuer
# and dev.enabled to the demo values, and no later step notices.If instance.json is missing, Docker creates a folder at the mount point and the server then fails to read a folder as its configuration. That is why the test -f check comes first.
cd deploy/compose
printf 'LW_SESSION_SECRET=%s\nLW_LINK_SECRET=%s\nPG_PASSWORD=%s\n' \
  "$(openssl rand -hex 32)" "$(openssl rand -hex 32)" "$(openssl rand -hex 32)" > .env
# Use the published 1.2.0 server image; no local build is needed.
cat > release-images.yaml <<'YAML'
services:
  server:
    image: ghcr.io/lolly-tools/lolly-work-server:1.2.0
YAML
docker compose -f docker-compose.yml -f release-images.yaml pull
docker compose -f docker-compose.yml -f release-images.yaml up -d --no-build
Use the same two -f arguments for later logs, stop and up commands. For production, check the release's verified image digest and put that digest in release-images.yaml in place of the version tag. To build from your own source instead, leave out the override and run:
docker compose up --buildAll three lines of .env matter. The Compose file refuses to start without the two LW_ secrets. PG_PASSWORD sets both the server's DATABASE_URL and the PostgreSQL container's password.
After the first start, the pgdata volume keeps the old password, so a new PG_PASSWORD also needs alter role lolly password '<new>' inside the container, or docker compose down -v, which destroys the data.
curl -s http://localhost:8787/healthz shows your instance name, not the example's.
Then repeat the checks from section 2, signing in as an address your dev.users lists, or through your identity provider once you have set idp.issuer and switched development sign-in off.
To keep blobs in an S3-compatible store of your own instead of PostgreSQL, the Compose folder has an optional garage profile that runs Garage on the same private network. It is off unless you pass --profile garage. Add a GARAGE_RPC_SECRET to .env, run the one-time layout, bucket and key commands, set LW_BLOBS_S3_CREDENTIAL and switch blobs.driver to s3 with the endpoint http://garage:3900. The exact steps are in deploy/compose/README.md of the Lolly Work repository.
Changing the driver later does not copy blobs already in PostgreSQL.
The image sets NODE_ENV=production, so a missing secret stops it rather than falling back quietly. The pack and an optional built web app are mounted read-only, and migrations apply at startup. Nothing in this stack terminates TLS: put nginx or Caddy in front, or end TLS at your load balancer and forward to :8787, then work through before exposing the server. More on how the Compose shape fits together is in deployment.
6. Bare metal (systemd)
The same code with less orchestration, when you would rather not run containers. Install PostgreSQL and create the role and database first (section 3): the service restarts in a loop without them.
sudo useradd --system --home /opt/lolly-work --shell /usr/sbin/nologin lolly
sudo git clone https://github.com/lolly-tools/lolly-work.git /opt/lolly-work
sudo chown -R lolly:lolly /opt/lolly-work
cd /opt/lolly-work && sudo -u lolly -H pnpm install --prod
sudo -u lolly cp instance.example.json instance.json    # then edit it (section 2)
The service reads its secrets from one file. EnvironmentFile does no shell expansion, so write the values already resolved. DATABASE_URL goes here too, because it carries the database password and this is the file with mode 0600. Put the password from section 3 in place of <password>:
sudo sh -c 'printf "LW_SESSION_SECRET=%s\nLW_LINK_SECRET=%s\nDATABASE_URL=postgres://lolly:%s@localhost/lolly_work\n" \
  "$(openssl rand -hex 32)" "$(openssl rand -hex 32)" "<password>" > /etc/lolly-work.secrets'
sudo chown root:root /etc/lolly-work.secrets && sudo chmod 600 /etc/lolly-work.secrets
Save this as /etc/systemd/system/lolly-work.service. Use the real node path if it is not /usr/bin/node. Under nvm, command -v node prints a path in ~/.nvm that the lolly user cannot reach, so a package-managed Node is simpler here.
[Unit]
Description=Lolly control plane
After=network.target postgresql.service

[Service]
User=lolly
WorkingDirectory=/opt/lolly-work
Environment=NODE_ENV=production
Environment=PORT=8787
Environment=LW_CONFIG=/opt/lolly-work/instance.json
EnvironmentFile=/etc/lolly-work.secrets
ExecStart=/usr/bin/node server/src/main.ts
Restart=on-failure
# hardening
NoNewPrivileges=true
ProtectSystem=strict
PrivateTmp=yes
ReadWritePaths=/opt/lolly-work

[Install]
WantedBy=multi-user.target
Production mode makes a missing secret fatal, and PrivateTmp=yes is what gives the service a writable /tmp under ProtectSystem=strict.
sudo systemctl daemon-reload && sudo systemctl enable --now lolly-work
curl -s http://localhost:8787/healthz          # "name" must be YOUR instance.name
sudo journalctl -u lolly-work -n 50            # if it did not come up
Then repeat the checks from section 2, signing in as an address your dev.users lists, or through your identity provider. The section 2 addresses only exist in the shipped example. Put nginx or Caddy in front for TLS, or end TLS at your load balancer, and work through before exposing the server.
7. YunoHost
YunoHost packages the systemd shape for you. The Lolly Work app installs the service, its PostgreSQL database and the Lolly web app on a domain of its own, and signs members in with the host's accounts. From 1.2.0 it is the only Lolly package for YunoHost. The static lolly_ynh package is discontinued, and Run Lolly Work says what that means for a static install.
The package is the deploy/yunohost/ folder of the Lolly Work repository, mirrored to lolly-tools/lolly-work_ynh at each release. For a fresh install, use an exact tagged revision of lolly-work_ynh: the one official installation routes lists for YunoHost, with what each revision has passed.
In YunoHost's custom-app installer, paste the tagged lolly-work_ynh URL. The same from a terminal, with the tag in place of the placeholder:
sudo yunohost app install https://github.com/lolly-tools/lolly-work_ynh/tree/<published-package-revision>The installer asks four questions: a whole domain, the first owner (an existing YunoHost user), who may open the app (all YunoHost users by default) and the instance name. It fetches the matching Lolly Work and web archives and checks both hashes. What you get is section 2's real instance with every setting already made:
instance.baseUrlis the domain andinstance.shellDiris the web app installed beside the server.instance.packstarts as that web app's own tools and catalog (the neutral starter brand), copied into the app's data folder so you can replace it with your own pack.- Sign-in is the reverse-proxy provider: the YunoHost portal authenticates, SSOwat attaches the identity headers, nginx adds the shared secret and the server reads each member's groups and this app's role permissions from the host's LDAP. Development sign-in is off.
- Roles are the app's YunoHost permissions (
owner,admin,approver,author), managed in Users › Groups and permissions. The first owner holdsownerand YunoHost admins start as admins. Every YunoHost group becomes a Lolly Work group, so overlays and approval chains can target them straight away. - Secrets are generated at install and kept in the app's
.env.NODE_ENVis production andrateLimit.trustedProxyHopsis 1.


The app's configuration panel changes the access mode, guest links, telemetry level and whether hooks run in the in-process renderer; the console at /admin does the rest. The package keeps the API, share links, render links and the instance card reachable for apps that are not browsers (the lw command line, MCP, SCIM and a Lolly app connecting to this instance), because the server authenticates those itself.
Connect a Nextcloud on the same server
If a Nextcloud app is installed on the same YunoHost, the package finds it (yunohost app list) and prefills its address under Configuration > Nextcloud. The connection stays off until you finish it:
- Create a dedicated Nextcloud account.
- Share the brand folder with it read-only.
- Create an app password in Nextcloud under Settings > Security.
- Paste the account's login name and that password into the panel.
Switching it on adds two config-managed entries to instance.json: a WebDAV catalog source that reads the brand folder, and a WebDAV delivery destination that writes approved exports beneath a folder you name, which must already exist. The delivery destination is limited to the admins group until you list other groups in the panel. The Nextcloud may also sit on another server, because the panel accepts any HTTPS address. Both entries read the app password from the service environment, and the server reaches the Nextcloud over its own address, which resolves to a private network address on a shared host, so the package lists that origin as an allowed private origin for providers. Lolly Work takes a whole domain, so a Nextcloud on the same server lives on another domain or subdomain. The browser-side WebDAV connection in the Lolly app is a separate feature: it runs from the page, so it needs that Nextcloud's CORS rules and a matching entry in the page's content policy.
The package does not set up a Chromium render worker, so the exports on offer depend on the installed tool pack and renderer settings. Keep an independent protected copy of the YunoHost backup.
Test a restore, sign-in, a shared uploaded asset and an invited edit.
8. The CLI
Every governance action in the console can be scripted. From a checkout:
pnpm run cli                                      # the command list
pnpm run cli login --email owner@example.test --base http://localhost:8787
pnpm run cli whoami --base http://localhost:8787
npm link                                          # puts `lw` on PATH, once
login comes first, because every other command needs a session. On an OIDC instance, plain lw login prints an address and a short code: open the address in any signed-in browser and confirm the code there. Three commands to learn on day one:
lw export --out governance.json   # snapshot grants/overlays/chains/providers/flags
lw audit head                     # the hash-chain head, and whether it is intact
lw preview --groups admin         # exactly what a member in those groups receives
A fresh install can start already governed by seeding that snapshot. The seed path is trusted, so it can grant owner-only actions before anyone signs in:
LW_SEED_CONFIG=./governance.json npm start # idempotentSessions, --base and every command are in the CLI reference.
9. Connect a source
A new instance serves only what its pack ships. Connecting a catalog source, such as a DAM, a bucket or a Git repository, makes it your instance. Every kind follows the same six steps, and the whole sequence is owner-only (catalog.provider.credential and catalog.provider.publish), so set up the first owner before you start.
Rehearse once with no account anywhere. The mock kind takes its assets straight from --options, so these commands run against a fresh instance with no network, no vendor and no credentials:
export LW_BASE=http://localhost:8787            # or your instance URL
lw login --email owner@example.test              # the owner from section 2

OPTS='{"assets":[
  {"remoteId":"a1","name":"Hero banner","nativeType":"image",
   "sections":["Campaigns"],"tags":["hero"],
   "formats":[{"format":"png","remoteRef":"orig","filename":"hero.png"}]},
  {"remoteId":"a2","name":"Logo mark","nativeType":"image",
   "sections":["Brand"],"tags":["logo"],
   "formats":[{"format":"svg","remoteRef":"orig","filename":"logo.svg"}]}]}'

lw providers preview --kind mock --options "$OPTS"   # 1. dry run: nothing is stored
lw providers add rehearsal --kind mock --label "Rehearsal source" --options "$OPTS"
lw providers enable rehearsal                        # 3. owner-only
lw providers sync rehearsal                          # 4. "synced rehearsal: 2 assets"
lw providers health rehearsal                        # 5. "ok"
preview asks for a credential before it runs; mock needs none, so press Enter. A source is always added disabled: add prints created rehearsal (disabled ...), and enabling is its own audited action.
Step 6 proves the source reached the catalog. Federated IDs take the form ext/<provider-id>/<remote-id>:
C=$(curl -si "$LW_BASE/api/auth/dev?email=owner@example.test" \
      | grep -i '^set-cookie: lw_session' | sed 's/^[Ss]et-[Cc]ookie: //' | cut -d';' -f1)
curl -s -H "Cookie: $C" "$LW_BASE/api/v1/catalog/search?q=hero"
# {"q":"hero","results":[{"id":"ext/rehearsal/a1","name":"Hero banner",...}]}
Remove the rehearsal when you are done. Deleting an enabled source is refused (409 PROVIDER_ENABLED), so it takes two steps:
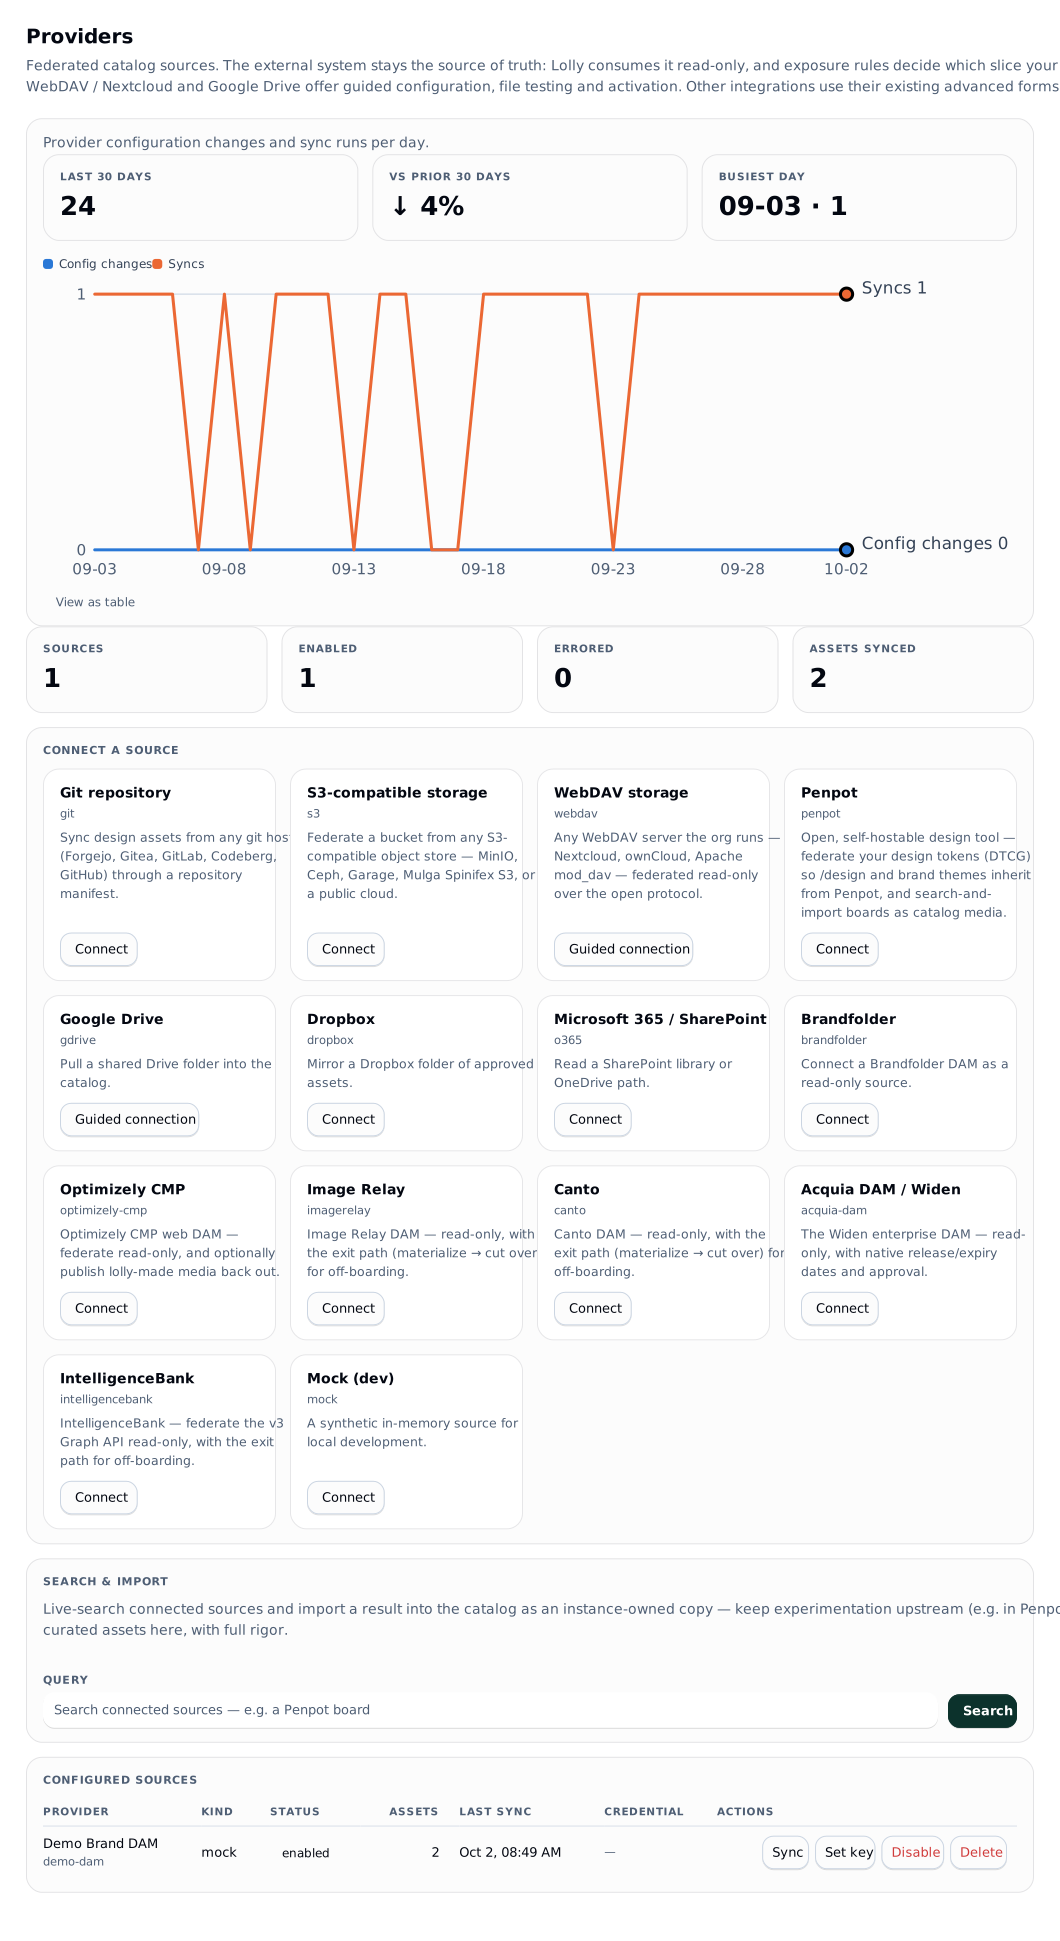
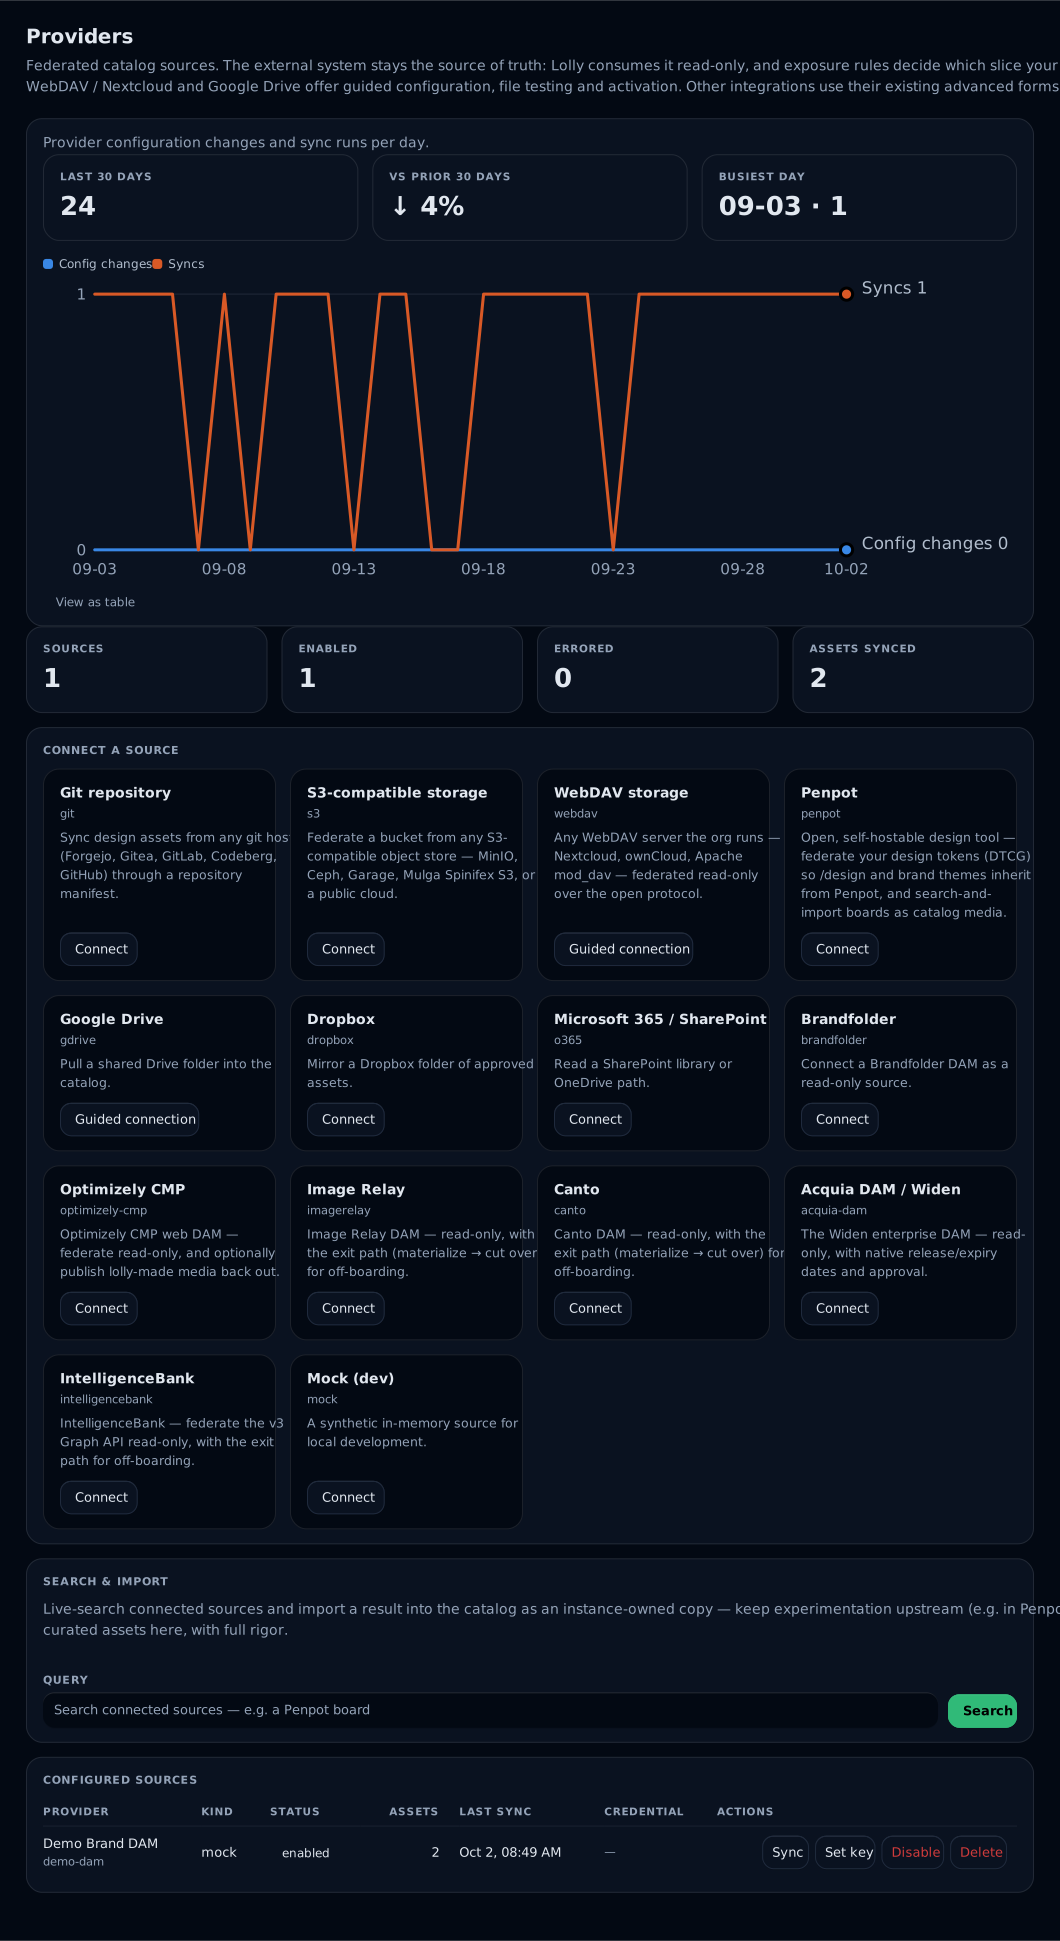
lw providers disable rehearsal && lw providers rm rehearsalIn the console, the same steps live under This Deploy → Providers.
 signed by Lolly Demovector SVG22 paths320 nodes167 groups229 KBCheck it yourselfGet the signed file
 signed by Lolly Demovector SVG22 paths320 nodes167 groups229 KBCheck it yourselfGet the signed file


Now the real one
The same six steps, with two differences: the kind, and a credential between add and enable.
lw providers preview --kind <kind> --options '{...}'   # confirm the tenant answers first
lw providers add <id> --kind <kind> --label "..." --options '{...}'
lw providers credential <id>          # prompts; never passed on argv, sealed at rest
lw providers enable <id>
lw providers sync <id> && lw providers health <id>
What --options must contain, and where the credential comes from, depends on the platform. Each kind has a guide written for the owner of that platform: start at the provider guides. Some OAuth kinds (dropbox, gdrive, o365) replace the credential prompt with lw providers auth <id>, a consent flow that returns to your computer. Which groups see a source, approved-only assets and reference or download access are separate decisions on the same record; see catalog.
What next
- Customer setup: generate checked configuration and download a checked sample.
- Enterprise identity: single sign-on, admission, SCIM and sign-out.
- Keep Lolly Work running: upgrades, backups, monitoring and secret rotation.
- Configuration: every key and environment variable.
- Automation API: service tokens, render jobs and the organisation MCP endpoint for agents.